How to use URLSCAN part2
This is the part 2 of How to use URLSCAN part1 – osintafrica
Now, let’s move further, we can see in blue color, 11 menus available.
Now we will describe the utility of each menu

- Summary
Click on the “Summary button” to find more details about the menu.
The menu contains all details about the submitted domain.

When you look at the image above, the following details are visible:
The number of domains and IPs that were contacted by the submitted domain.
The main IP address with location and the domain hosting provider are also available.
The certificate detail used by the website with his validity period.
The website was scanned 3 times

- Show scan
This submenu will show you the number of times the domain has been already scanned. You can click on each scan to have more details such as how the domain looks at the time it was scanned, the IP address, ASN behind the domain at the time it was scanned.

- Domain classification
The second part of the Summary menu is the classification of the domain provided by Google Safe Browsing.

The image above shows that Google Safe Browsing classified the domain as “No classification” which means that the domain is cleaned following the rating score available on Google Safe Browsing.
- Domain and IP information
7 submenus are available at the section.

The menu IP/ASNs contains the information about all the IPs addresses contacted by the domain while being submitted with their ASN (Autonomous System Number).

You can click on each IP address and ASN to find more information.
The submenus “IP Detail” and “Domains” and “Domain Tree” contain some information about the IPs and the domains contacted by the submitted domain. You can click on each section to see the information available.

The submenu “LINK” contains all the link redirecting to others domains or URLS.

You can click on each link to get more details about.
The submenu “Certs” contains the list of all certificates used by the submitted domain with the validity period.

You can click on the crt.sh on the right side to get more details about the certificate

The submenu “Frames” will show you if the website is using any URL Frames.

- Image
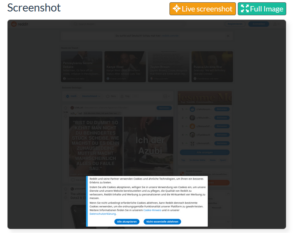
After describing different submenus from the Summary, from the right side, once the domain has been submitted, the main image from the website will appear in real time.
We can see how the website behind the domain submitted looks like. This is very important during an investigation, for example when you are analysing a phishing issue, it is necessary to view the website without connecting directly to it.

You can click on “Live screenshots” and “Full Image” to have better visibility of the image.
- Detected technologies
Here, we can find some technologies used by the domain. Notice that this is very important for you as analyzer. For example, When the website is compromised, the threat actor might embed a malicious code into the website, by checking this, you might find out the malicious code embedded within your website, checking this, can also help you to find some technologies that need to be updated or are not in used anymore.

- Page Statistics
This section shows you the whole details about the submitted URL such as HTTP request, domains, subdomains, cookies, IP etc …


